woobles
Wooble = (circle, wobble)
Making Woobles
In this post I will explain the generative art techniques used to create “Woobles”. First, I will explain the math behind a single Wooble. Then I’ll discuss stacking Woobles including shape and color selection. Finally, I’ll discuss the post-processing on the image to get the final framing and texture.
Keywords:
- Generative Art. Art that in whole or in part has been created with the use of an autonomous system (wikipedia).
- Programming. The act of instructing computers to perform tasks (wikipedia).
Inspiration
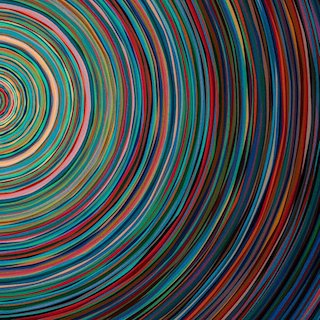
“Wobbly Ringz” by jawknee400 (source)
I saw this image on /r/generative and was immediately taken by it. I resolved to recreate it using a software library that I’ve wanted to learn called diagrams.
diagrams is a powerful, flexible, declarative domain-specific language for creating vector graphics, using the Haskell programming language.
From Circles to Woobles
A useful definition of a circle is in the polar coordinate system where the points of the circle are specified as a function of the angle: $f(t) = r$. Where $t$ is the angle and $r$ is the radius of the circle. It is a constant function which makes sense because the points are always $r$ units away from the origin of the circle. However, Woobles have a periodic wobble that gives it a wobbly appearance. We can borrow the classic periodic function $cosine$ and get a particular wooble using $f(t)= r + \frac{r}{100}cos(5t)$
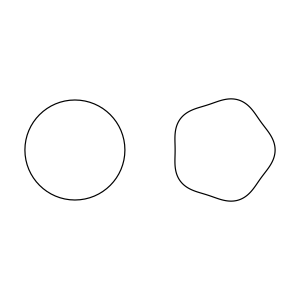
On the left is a unit circle ($f(t) = 1$) and on the right is a Wooble ($f(t)= r + \frac{r}{100}cos(5t)$)
The $cos$ term is parameterized by 3 values. The first is how big the wobble can get, Magnitude. The second is how quickly the $cos$ term oscillates between $-1$ and $1$, Frequency. The final one is where in the wobble the function begins, Phase. Henceforth, I’ll refer to a 3-tuple of (Magnitude, Frequency, Phase) as a Wobble. The images below demonstrate what varying these parameters looks like.
Frequency: 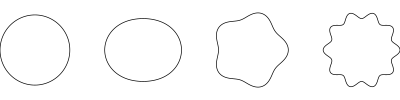
Magnitude: 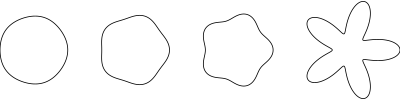
Phase: 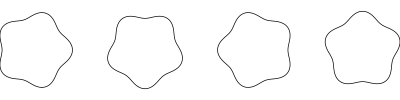
@TODO: Interactive Visualization
Relations Between Woobles
The final image is a stack of Woobles. In this section, I’ll discuss what was done to make the stacking interesting in terms of Wobbles and Colors.
Wobbles
If we use the same Wobble for every Wooble, we get concentric Woobles.
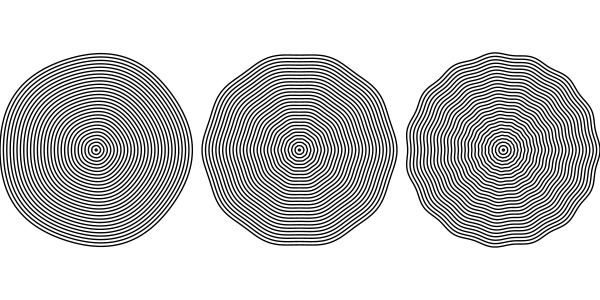
Technically, the Wobbles only share the same frequency and phase. The magnitude of the Wobbles are getting bigger as the radius increases i.e. magnitude is a function of a radius $M(r) = \frac{r}{75}$ . However, the Magnitude function is constant across Woobles.
To achieve the final result:
- $M(r) = \frac{r}{75}$ for all Woobles
- $P=p$ where $p$ $\epsilon$ $[\frac{\pi}{4}, \pi]$
- $F = f$ where $f$ $\epsilon$ $[4, 8]$
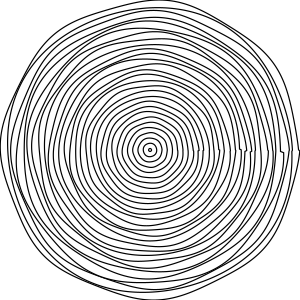
Colors
The colors for Woobles are sampled from the Hue, Saturation, and Luminosity (HSL) color space. Specifically I use the randomColor function from the Haskell package palette (link). It takes a Hue and a Luminosity range (LumBright, LumLight, and LumDark) and samples a color.
Three sets of colors are generated: colors with bright luminosity, colors with light luminosity, and colors with dark luminosity. For each Wooble, one of these sets is sampled for a color. The bright colors are used as accents and have a constant probability of $P_{bright}=0.1$. The other two sets are a little more complicated.
Lighter colors appear more often closer to the center of the image and darker colors appear more often towards the ends of the image. To achieve this the probability of light colors is $P_{light}=(1 - P_{bright}) - x$ where $x=(1 - P_{bright})\frac{woobleNumber}{totalWoobles}$ and $P_{dark}=x$. After each Wooble is drawn (starting with the smallest one in the center) it becomes slightly more likely to pick a dark color.
In this image, the light and dark colors are sampled from HueBlue and the bright bolors are sampled from HueRandom
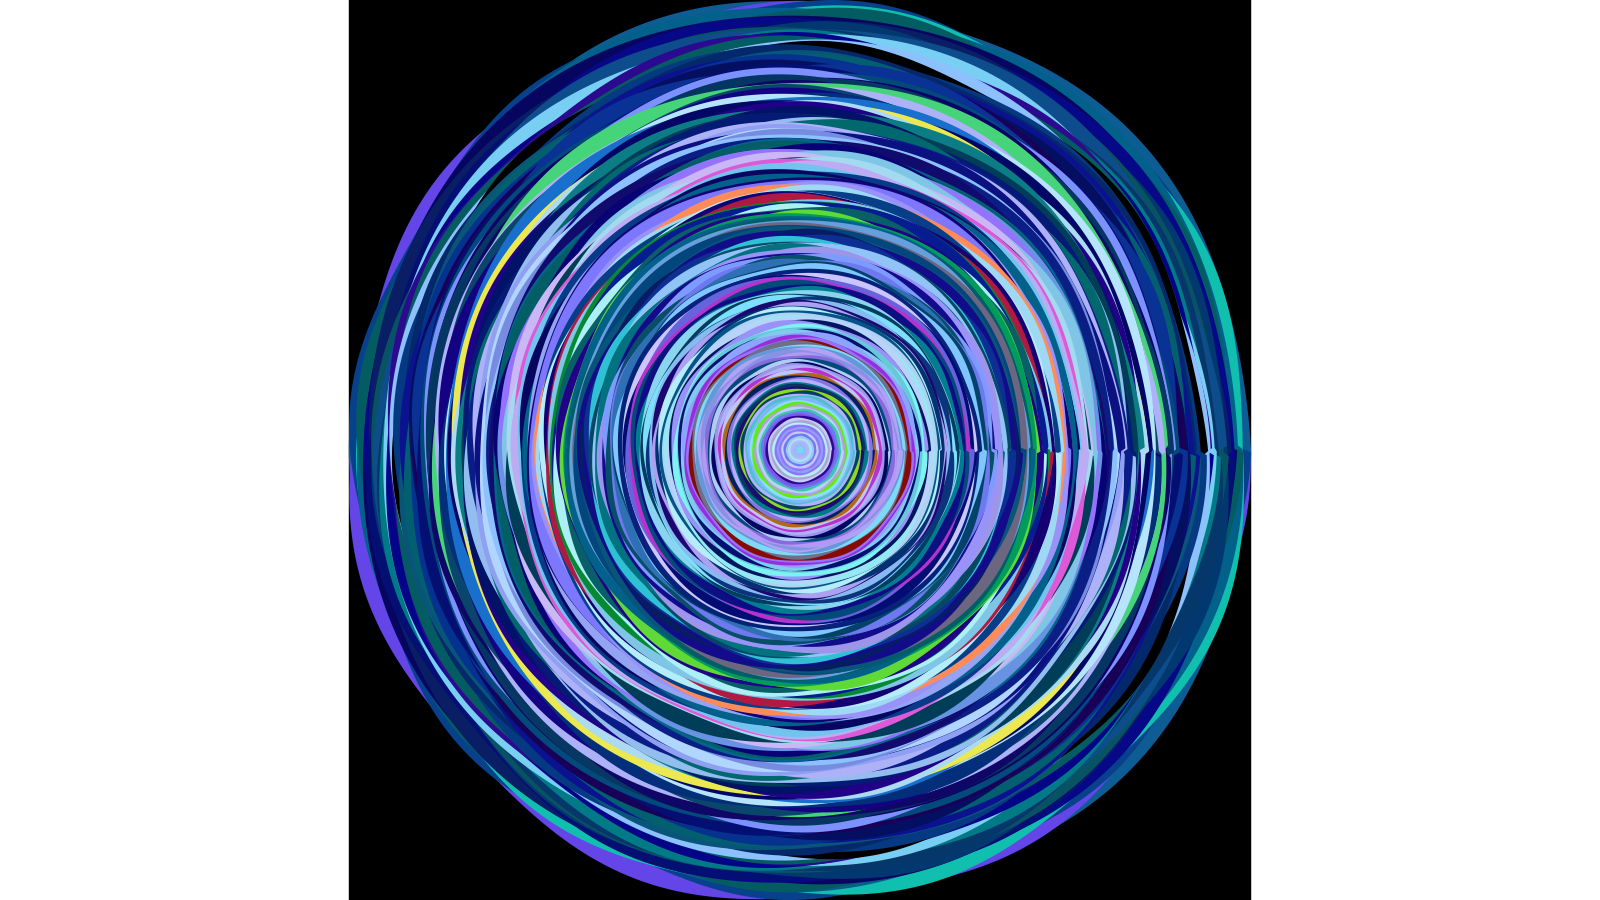
Finishing the Shot
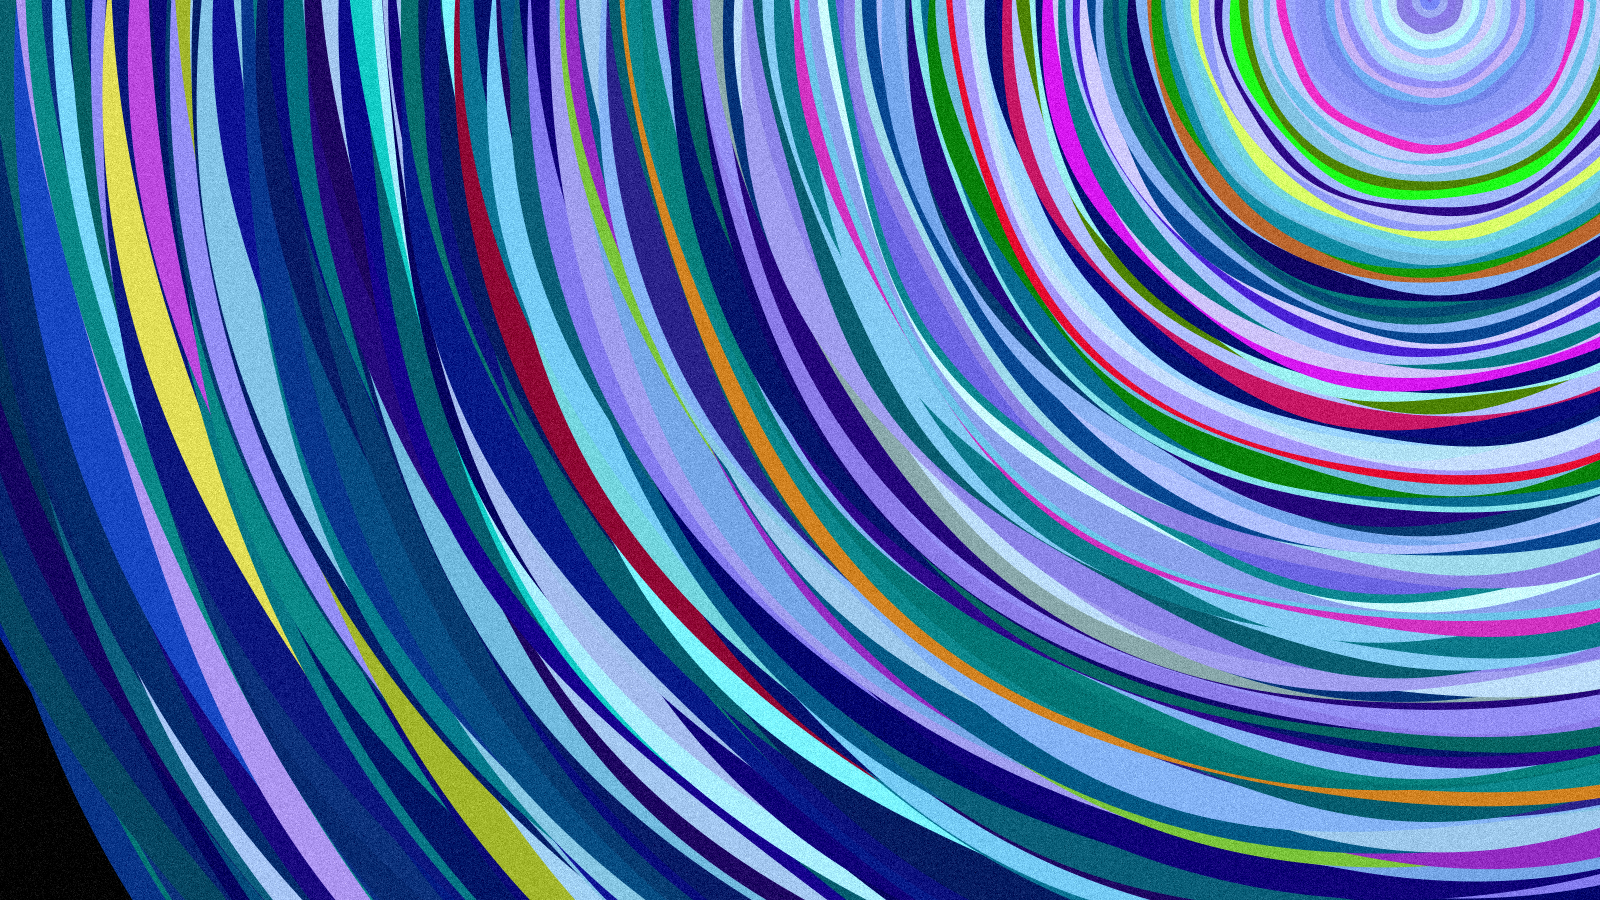
After the shaping and coloring of the Woobles, I select a particular region of the image. I liked the regions where you cannot see an entire Wooble because it directs attention towards the interaction between Woobles. In the case of the image at the top of this post, it is roughly the bottom left quadrant of the image.
Everything until this point was done in Haskell using the diagrams library. The final touch was to add some Gaussian noise to give the piece materiality. I used the freely available imagemagick program and the exact command can be found in the repo in addNoise.sh.